Tutorial
Edit a Client
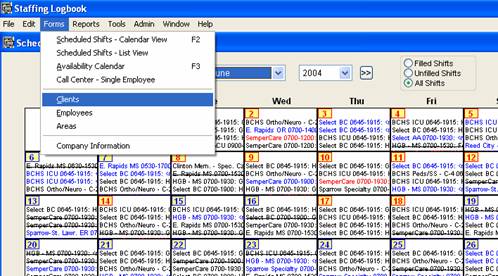
- Open the Clients Form by choosing Clients from the Forms menu.
- Select the desired client. The clientĺs name may be entered into the search box above the client list. If you want to search by City, click on ĹCityĺ, at the top of the City column.
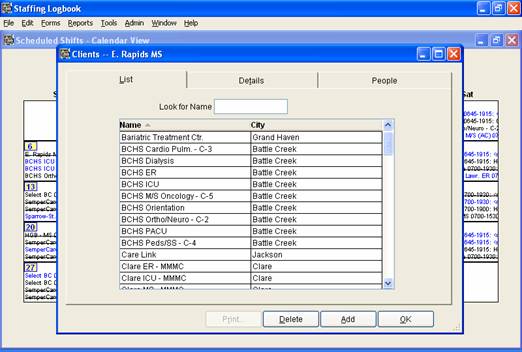
- After the client has been highlighted by clicking on them, click on the Details tab to see the client information.
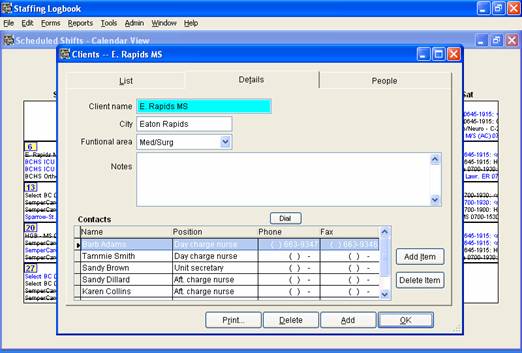
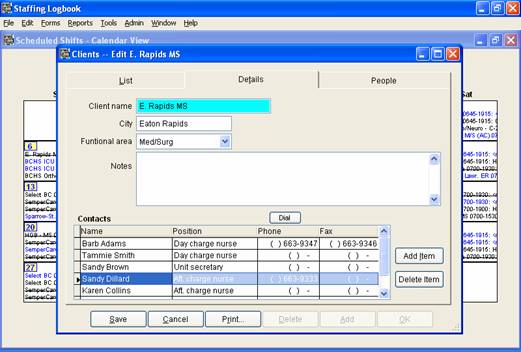
- Required fields are shown with a shaded background. If any changes are made to the form (The phone number for Sandy Dillard has been added below), Save and Cancel button become
visible at the bottom left; see below. If Cancel is chosen, all data reverts back to what it had been. The Add and Delete buttons at the bottom apply to the Client record, not the Contacts
record. To add or delete a Contact, use the Add Item or Delete Item buttons next to the Contacts list.
- To access more client information, click on the People tab:
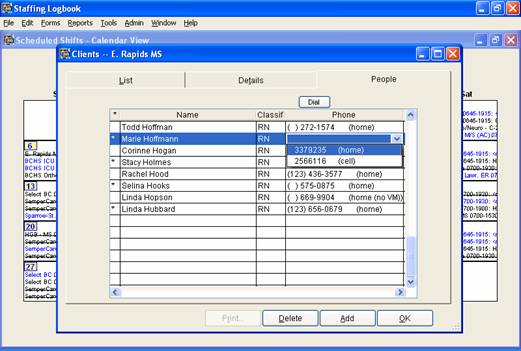
On the People tab, you see a list of the people that have been entered as being able to work for this client (on the Work tab of the Employee form). Their phone numbers are also listed
as shown above. The phone numbers may be dialed by selecting the number and clicking on Dial. The Add and Delete buttons at the bottom apply to the Client record, not the Employee record. To
remove someone from this list, use the Employee form.
Back to How It Works menu
|